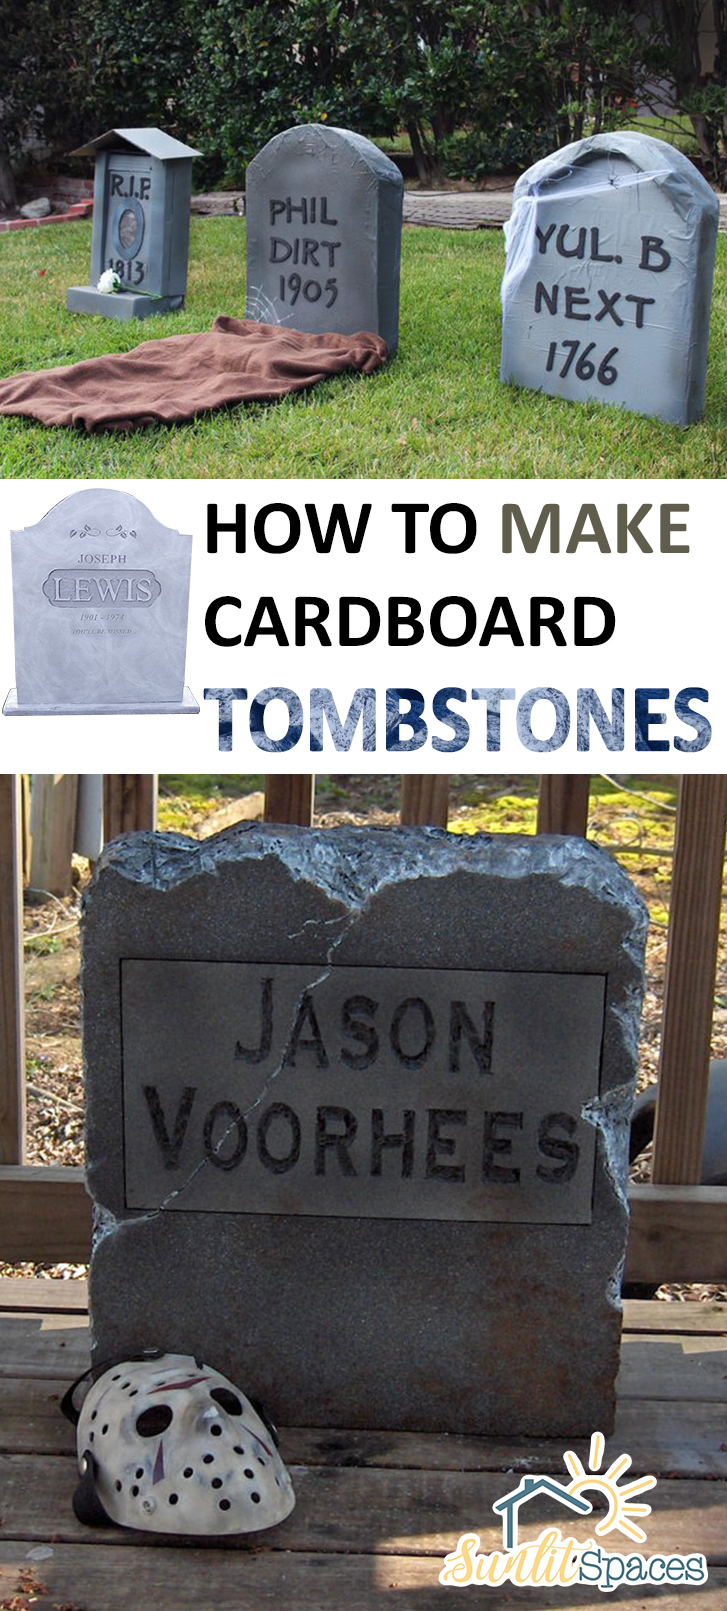
Wanna have some extra spooky fun this Halloween? Turn your yard into a mock graveyard with amazingly realistic tombstones! All you need to make these are cardboard boxes and old newspapers, plus some spray paint and Mod Podge. Stencils will help you construct macabre messages on the “tombstones” to spook your neighbors. Get ready to see how to make cardboard tombstones!

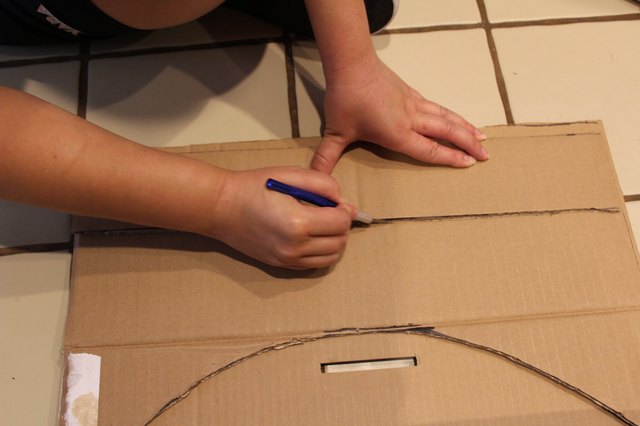
Begin with some cardboard boxes. You need to cut the cardboard in your desired tombstone shape. The tombstones in the picture above are approximately 2 feet high by 1 1/2 feet wide, but you can make yours whatever size you prefer. Cut two pieces of cardboard in identical shapes for each tombstone you want to build. As you plan what you will write on them, remember to keep about 3 inches of cardboard free at the bottom to fold underneath.
To support the two sides of each tombstone, you will cut two pieces of cardboard that are 3 inches by 20 inches. At the center point of each 3×20 piece, cut into it 1 1/2 inches. Slide the two pieces together at the cut to form a cross.

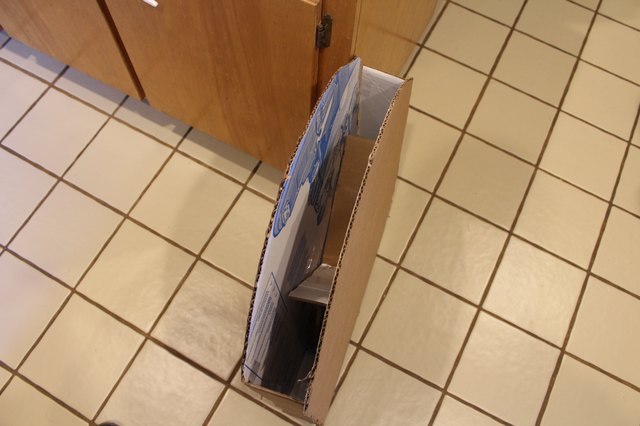
Remember the cardboard cross we made? It’s time to tape that to the back of one of your identical tombstone parts. Now put the two tombstone pieces together with the extra 3 inches at the bottom folding under each other. Tape everything securely. Cut two cardboard pieces to fit the open sides, and tape those to the tombstones. Your tombstone should now look like this:
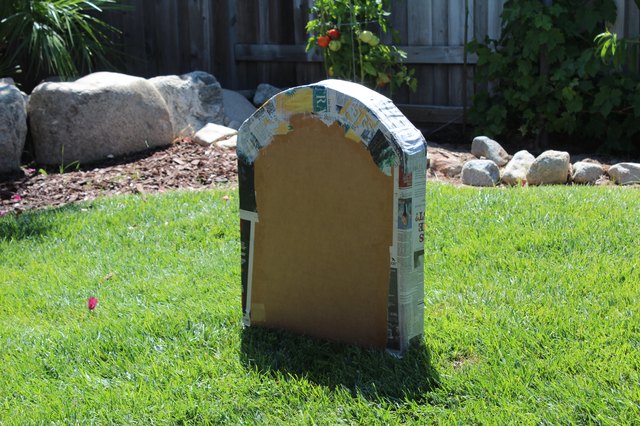
To keep your tombstones standing upright during any wind or weather, stick some weight inside. EHow suggests using a brick or a couple of plastic sandwich bags filled with sand. Cut a final 3-inch wide piece of cardboard to close up the top of the tombstone. Now it’s time for the real fun! Break out the Mod Podge, and cover your tombstones with newspaper. You only need to decoupage the top and sides to give the tombstone a rounded effect.
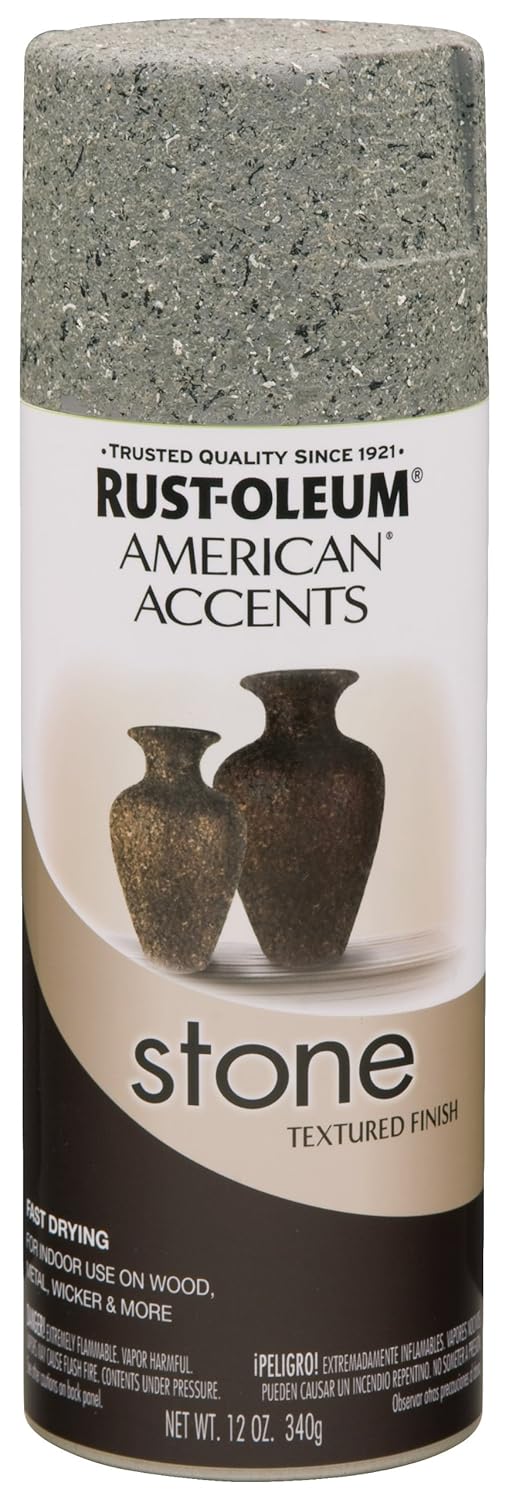
Once the Mod Podge is dry, grab some spray paint. A dark grey works well for the base layer, but a textured spray paint on top {such as Rustoleum Stone} will give it an authentic look and feel.
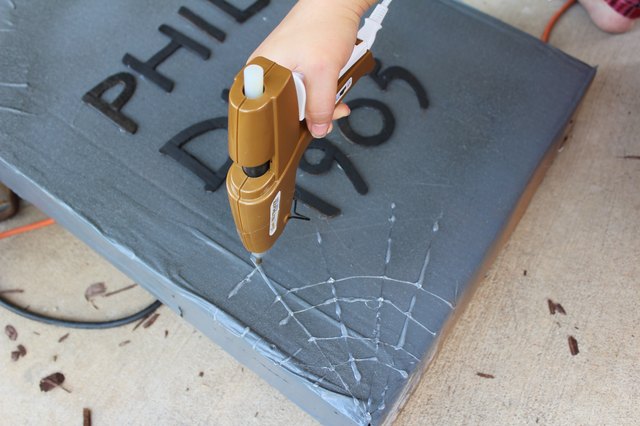
For a 3D effect, use stencils to cut letters from the cardboard, and then spray paint them in black. Use a hot glue gun to mount them to the front of the tombstones. You can also add spooky effects with hot glue, such as spider webs. Enjoy your new Halloween tombstones!
Leave a Reply