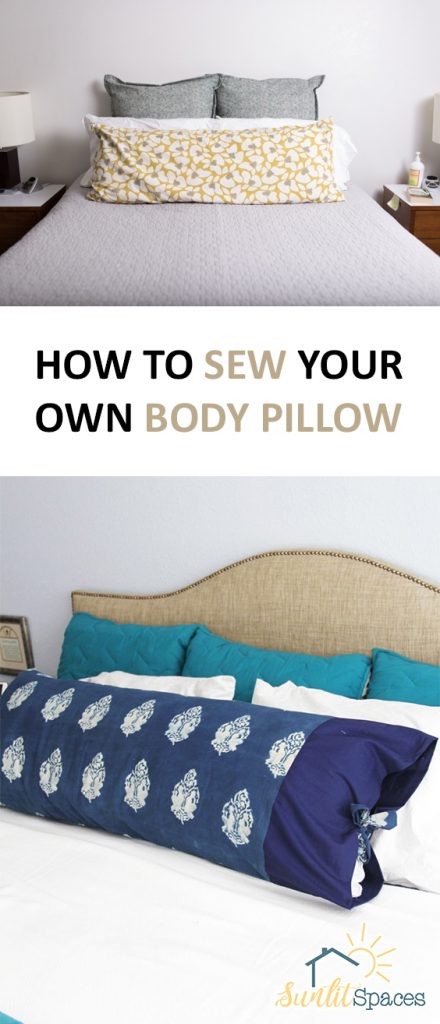
Let’s talk body pillows. Have you ever tried one? Mine was a total lifesaver when I was pregnant, but they aren’t just for that. Whether you need more support when you sleep, or just love to have something to relax on, a body pillow is a great thing to have. Sometimes the choices in ready-made body pillows are lacking–but a great option is to just make your own. So today’s post is all about how to sew your own body pillow. Stick around!
So the best thing about sewing your own body pillow is that you get to choose your fabric from a multitude of choices. Solid or print, cotton or fleece, it’s all up to you and what you like best. Start by choosing and purchasing two yards of your favorite fabric. {Try Fabric.com!} You will also need:
- pillow filling {find it at Michaels}
- matching thread
- additional fabric for a cover {if you want a separate cover for your finished pillow}
A standard body pillow is about 20″ x 54″. You can make yours a standard size, or you can cut it a little wider, narrower, shorter or longer. Determine how you want yours, and then add an inch for seams. Cut your chosen fabric to these dimensions. For example, cut your two yards of fabric into a sheet measuring 41″ x 55″.
- Fold one short end in about 1/2″ and iron it down.
- Now fold your fabric sheet in half lengthwise, right sides together.
- Stitch three sides closed, leaving open the short end that you previously ironed over 1/2″.
- Turn the pillow shell right sides out. The open end leaves you access to stuff the shell with pillow filling.
- Stuff the pillow so it is your desired level of firmness.
- Stitch the previously ironed edge closed using a 1/4″ seam. For durability, stitch twice. You’re finished!
Note: To make an extra cover for your pillow, measure your chosen fabric to be 2″ wider and 4″ longer than your finished body pillow, plus one inch for seams. For a standard size body pillow, cut your fabric 45″ x 59″. You can pretty much follow the above directions, minus the stuffing. Hem the folded edge instead of stitching it closed.


Leave a Reply