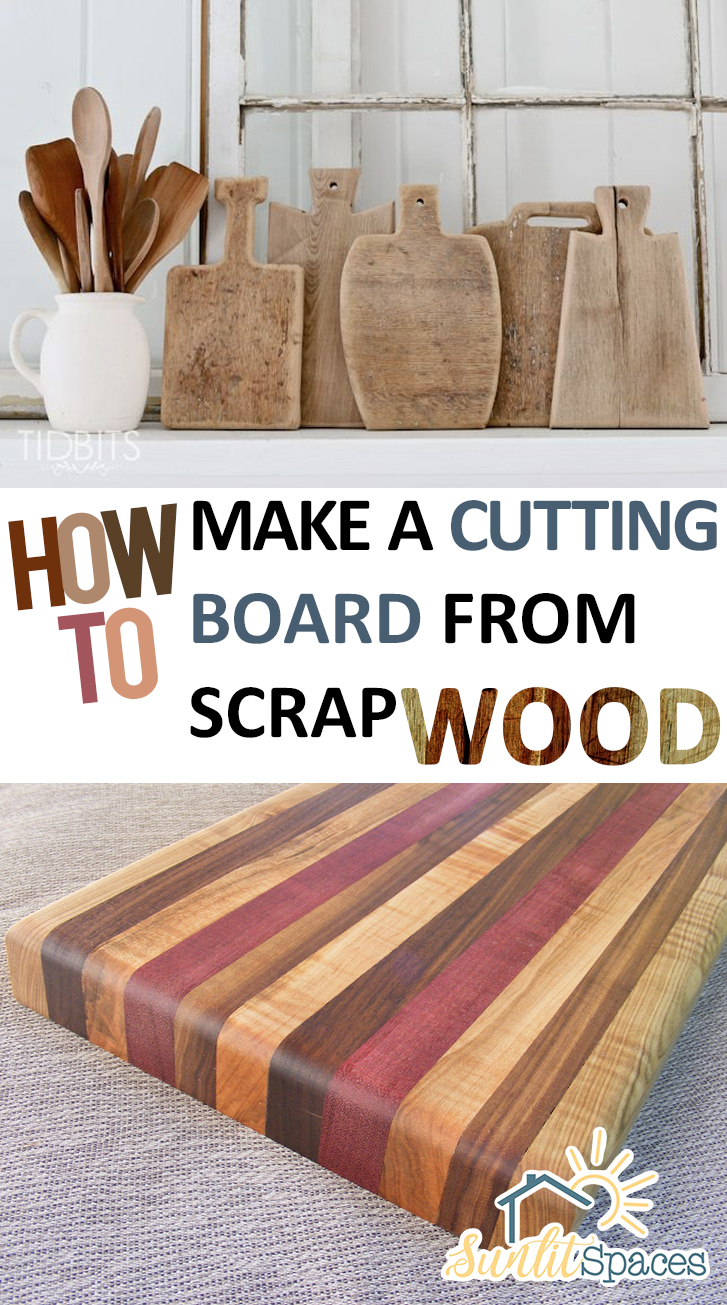
Today I have a fun project for the DIY-er in all of us. With some spare time and some simple supplies, you can make a stylish cutting board from scrap wood. Take a look at how amazing it looks!

Over at This Old House, they recommend using scrap wood pieces that are at least 2×12. You will probably use 2-3 pieces of that size to make one cutting board. Use a planer to make sure that all of your chosen pieces are the same thickness. Once they are the same thickness, use a table saw to cut the boards down to 2-inch strips.
Now lay out your 2-inch strips and align them for gluing. Before you glue them, turn some of the pieces so that the grains are alternating. This will give your cutting board its interesting look. Use wood glue to attach the pieces together, and then clamp them snugly.
Once the glue is thoroughly dry, unclamp your wood. Use the planer again to smooth out the surfaces and make sure the seams are even. At this point, you can cut the pieces into interesting cuts and glue them back together, clamping once again until the glue is dry.


Once you have created a pattern that you like and have securely glued it together, it’s time to sand down all the seams. Then sand the entire project with increasingly higher grit sandpaper until the surface is soft and smooth to your bare hand.
At Instructables, they recommend using a finish called The Good Stuff to oil your cutting board before using it. This will give it an amazing finish!

Check out a few of my other favorite DIY projects from Sunlit Spaces:
How to Frame Your Bathroom Mirror in Practically No Time
How to Make Puffy Paint for Kids
How to Reupholster Run Down Furniture
Leave a Reply