
Don’t spend another pre-Thanksgiving prep time worrying about how to carve the turkey. A lot of cooks are intimidated by the task {including me!} but we don’t have to be. Today’s post is all about carving the turkey like a pro. Stick around and I’ll show you how!
The number one tip to remember isn’t actually about carving the turkey–but it’s important because it will ensure the juiciest possible meat. Don’t ever carve the turkey hot out of the oven, no matter how rushed you are to get it on the table! Tent the bird with foil and let it rest for at least 20 minutes. This rest time lets the turkey relax, and the juices will redistribute through the meat.
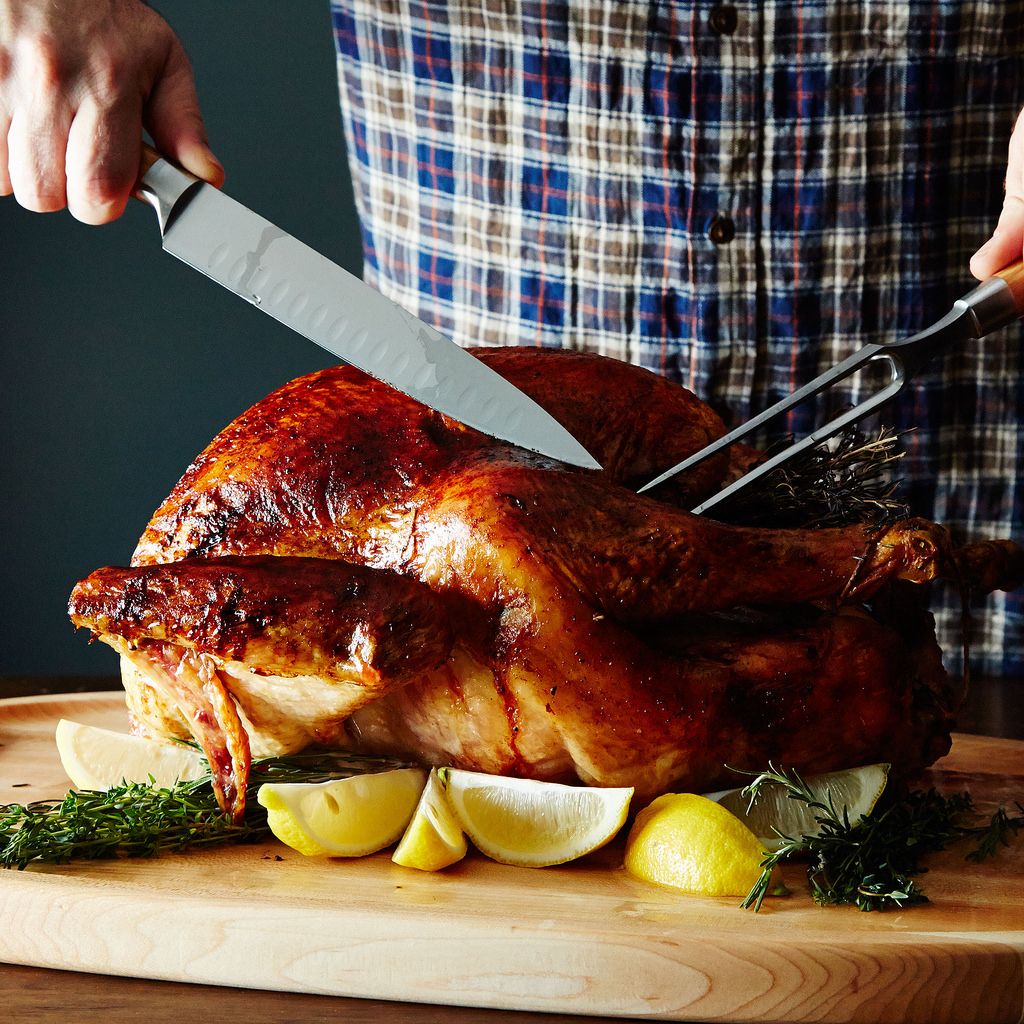
Now that the turkey has rested, here are the carving steps you should follow:
- Use a sharpened chef’s knife. Tongs are helpful for transferring hot meat to a serving platter.
- Place the turkey on a carving board and remove the string around the legs.
- Cut the skin between the breast and the drumstick, and slice through ’til the knife hits the joint. Take hold of the drumstick and push it down away from the rest of the turkey. Use the knife to slice all the way through the joint, then slice through the joint that connects the thigh and the drumstick.
- Repeat the first two steps for the other leg. Place the drumsticks on a serving platter.
- Remove the thigh meat from the bone with the sharp tip of your chef’s knife (I like to use this one!) or a boning knife. Add the meat to the platter.
- Locate the wishbone {at the front of the breast meat} and use your fingers to remove it. This makes it easier to carve the breast.
- Slice the breast meat against the grain, and keep the skin intact as you move it to the serving platter.
You did it! Enjoy your delicious hand-carved Thanksgiving turkey.
Leave a Reply