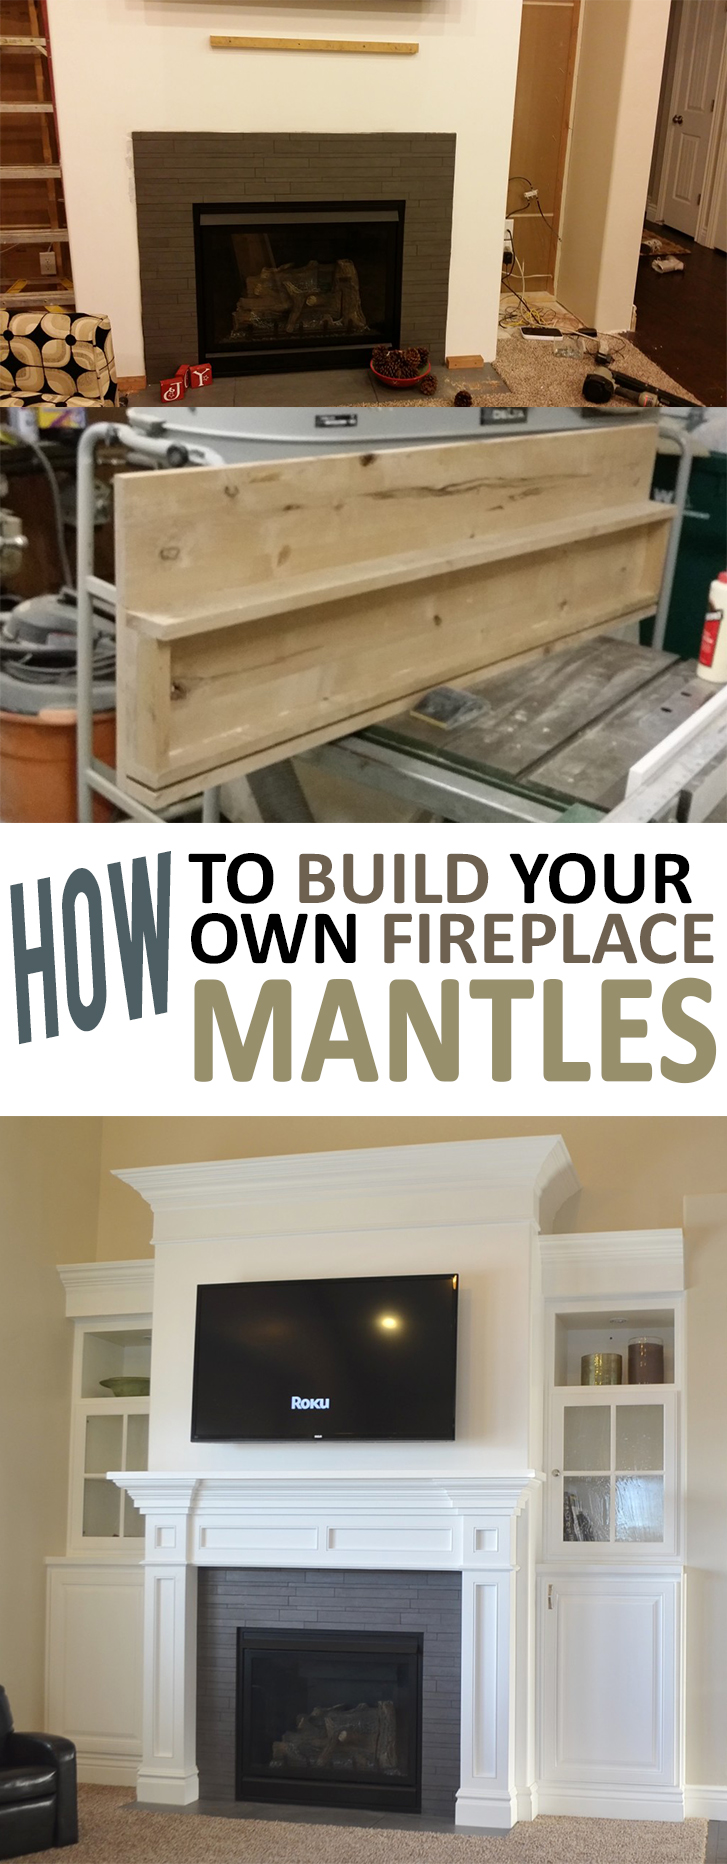
I thought this would be a fun tutorial and project to do since this is basically the centerpiece to our main living area. I wanted to take the time to do it right since I will be staring at it for years to come. Let me be upfront on this project, it was not an easy project, it is difficult to build a piece of furniture that has to conform to a wall, since walls are rarely perfectly straight.
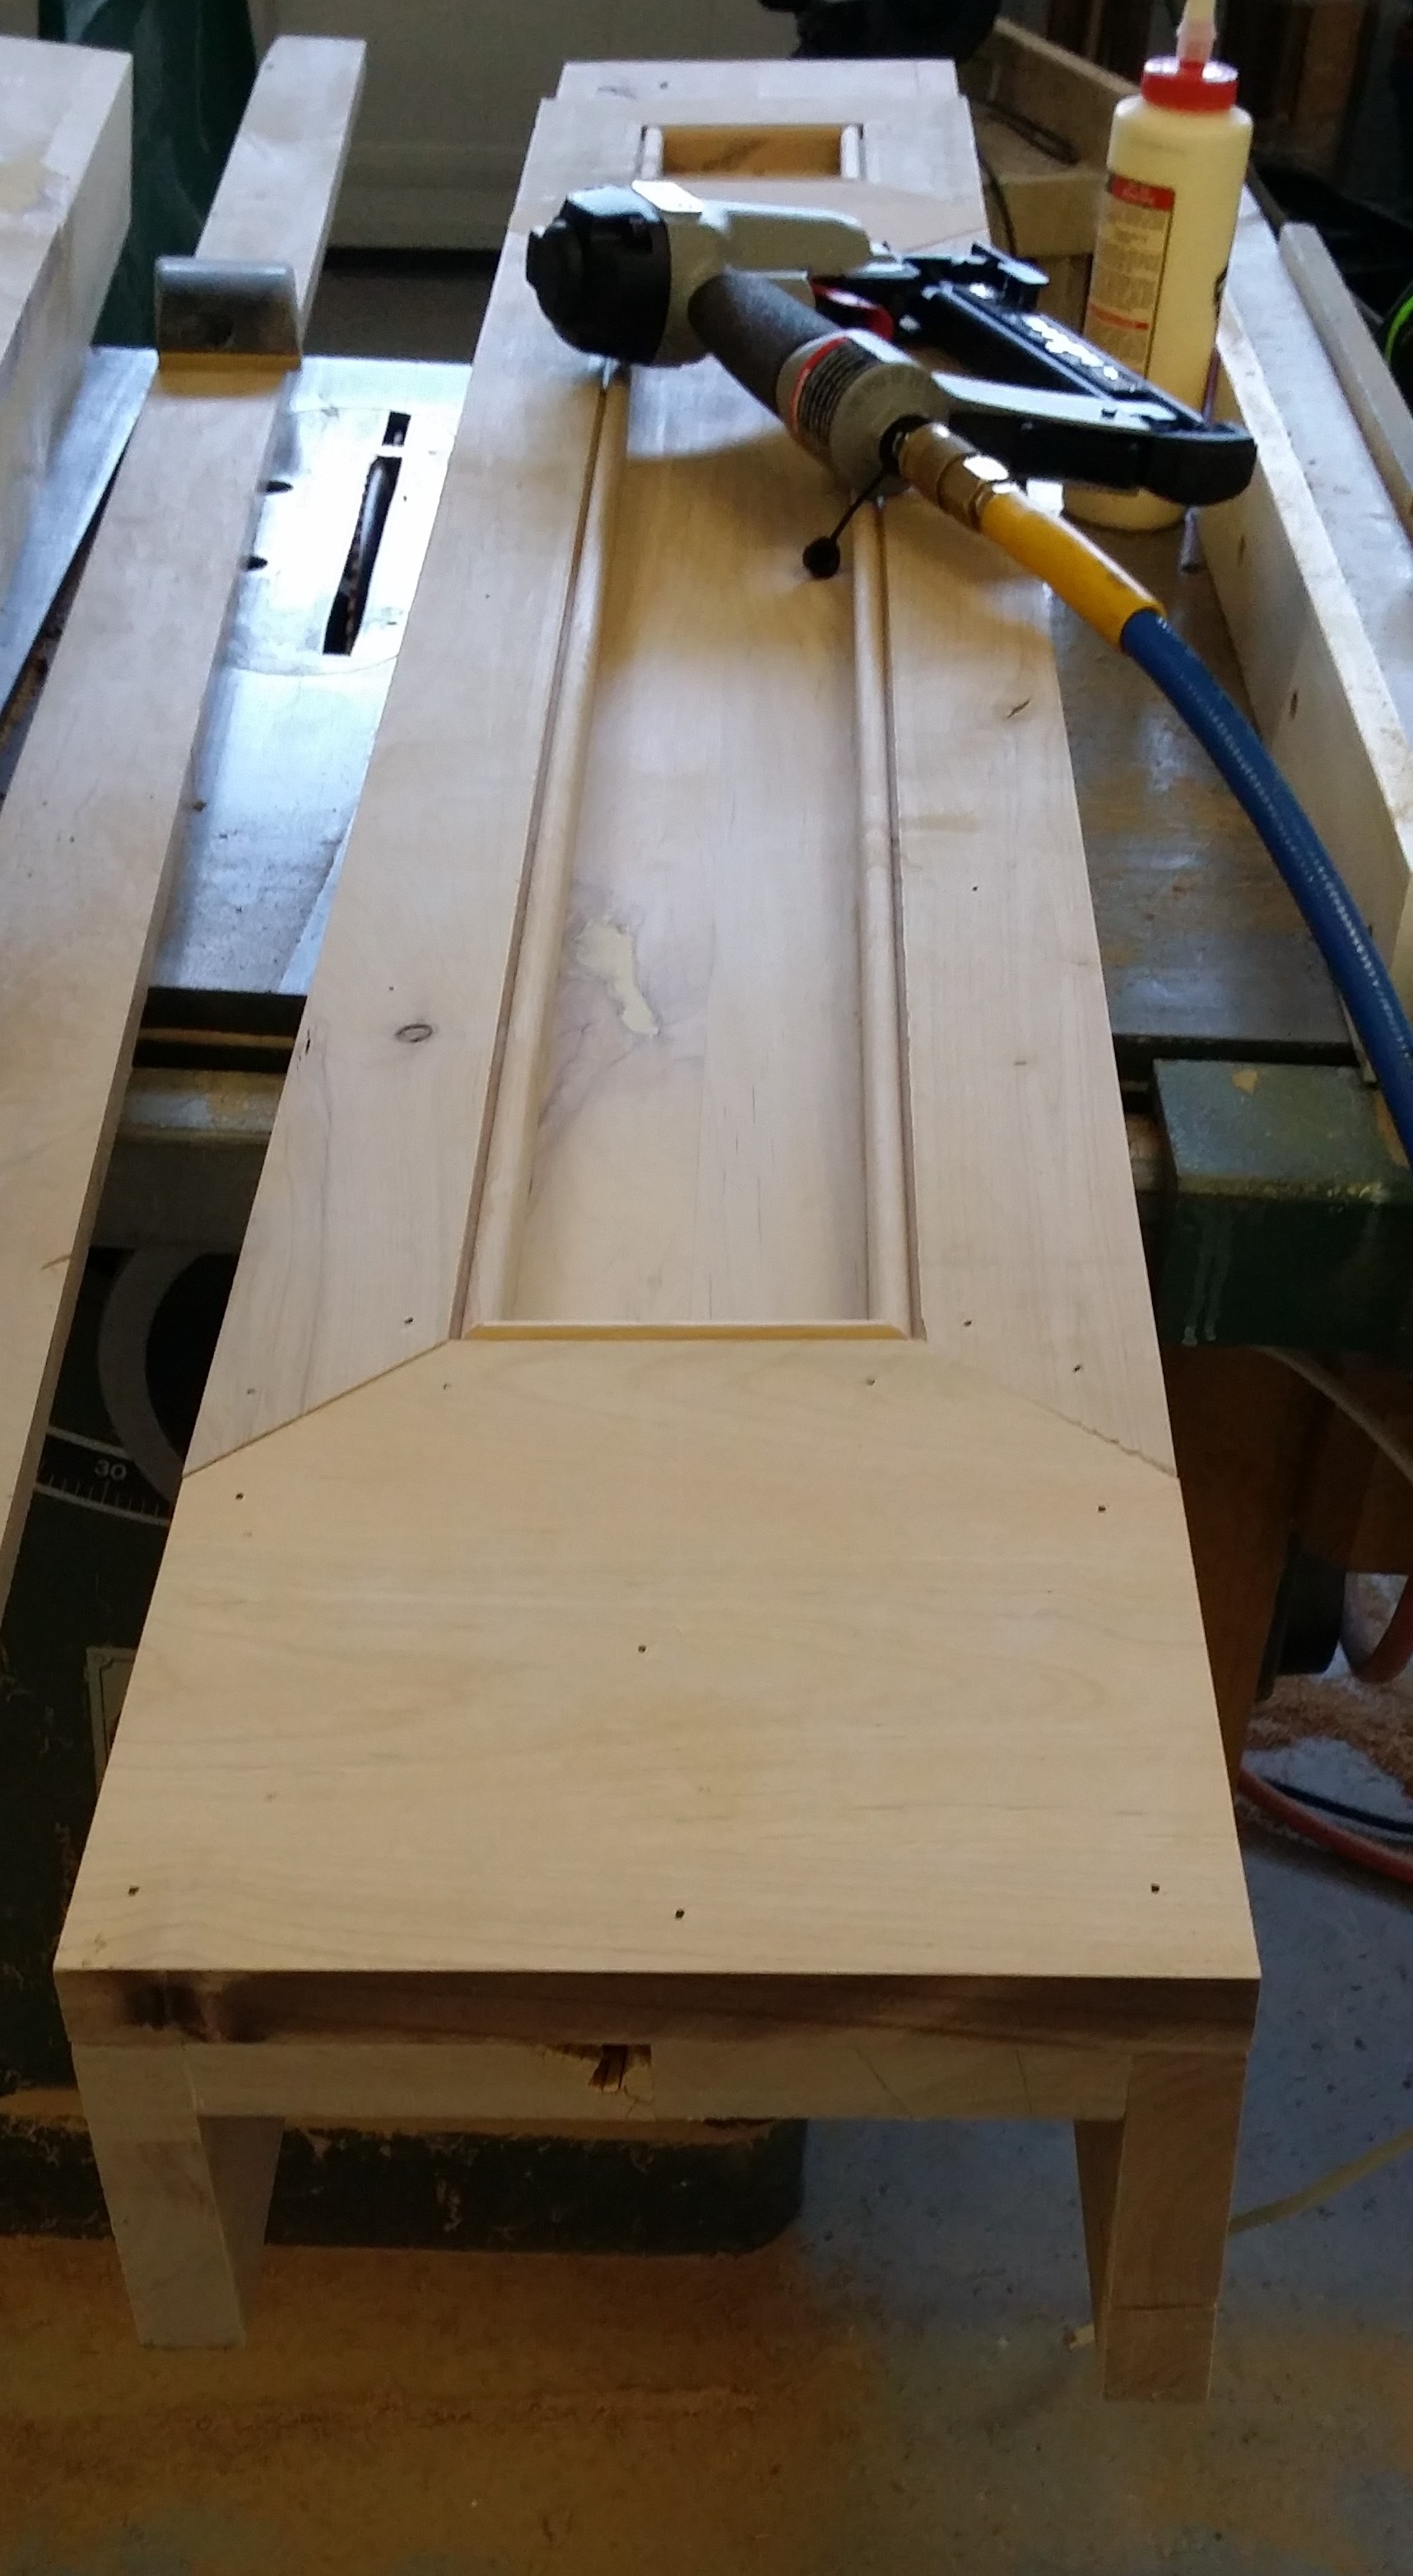
1. I started by building a box to put the decorative trim onto, I built mine out of solid wood since it was what I had available at the time. I wish I had not done this and had just used a veneered plywood to build it since it is a lot more dimensionally stable. If I had to go back I would have built the boxes using a maple veneered plywood. The boxes are just three sided with some sort of brace on the back to keep them square (again something I though of after the fact). This picture shows the box with the decorative trim nailed on already, that is the forth piece seen on top.

2. Cut, glue and nail all the trim pieces to the boxes that you have built, you need to keep in mind where the plywood edges will show so that you can cover the rough edges with trim.
3. Put the baseboard on around the legs using 45 degree miter cuts on the corners and just 90 degree cuts flush with the back of the mantel.

4. Attach the center and the legs: I glued and nailed a piece of wood on the ends of the center piece that allowed me to screw the three pieces together. There are probably a dozen different ways to do this, but that worked for me.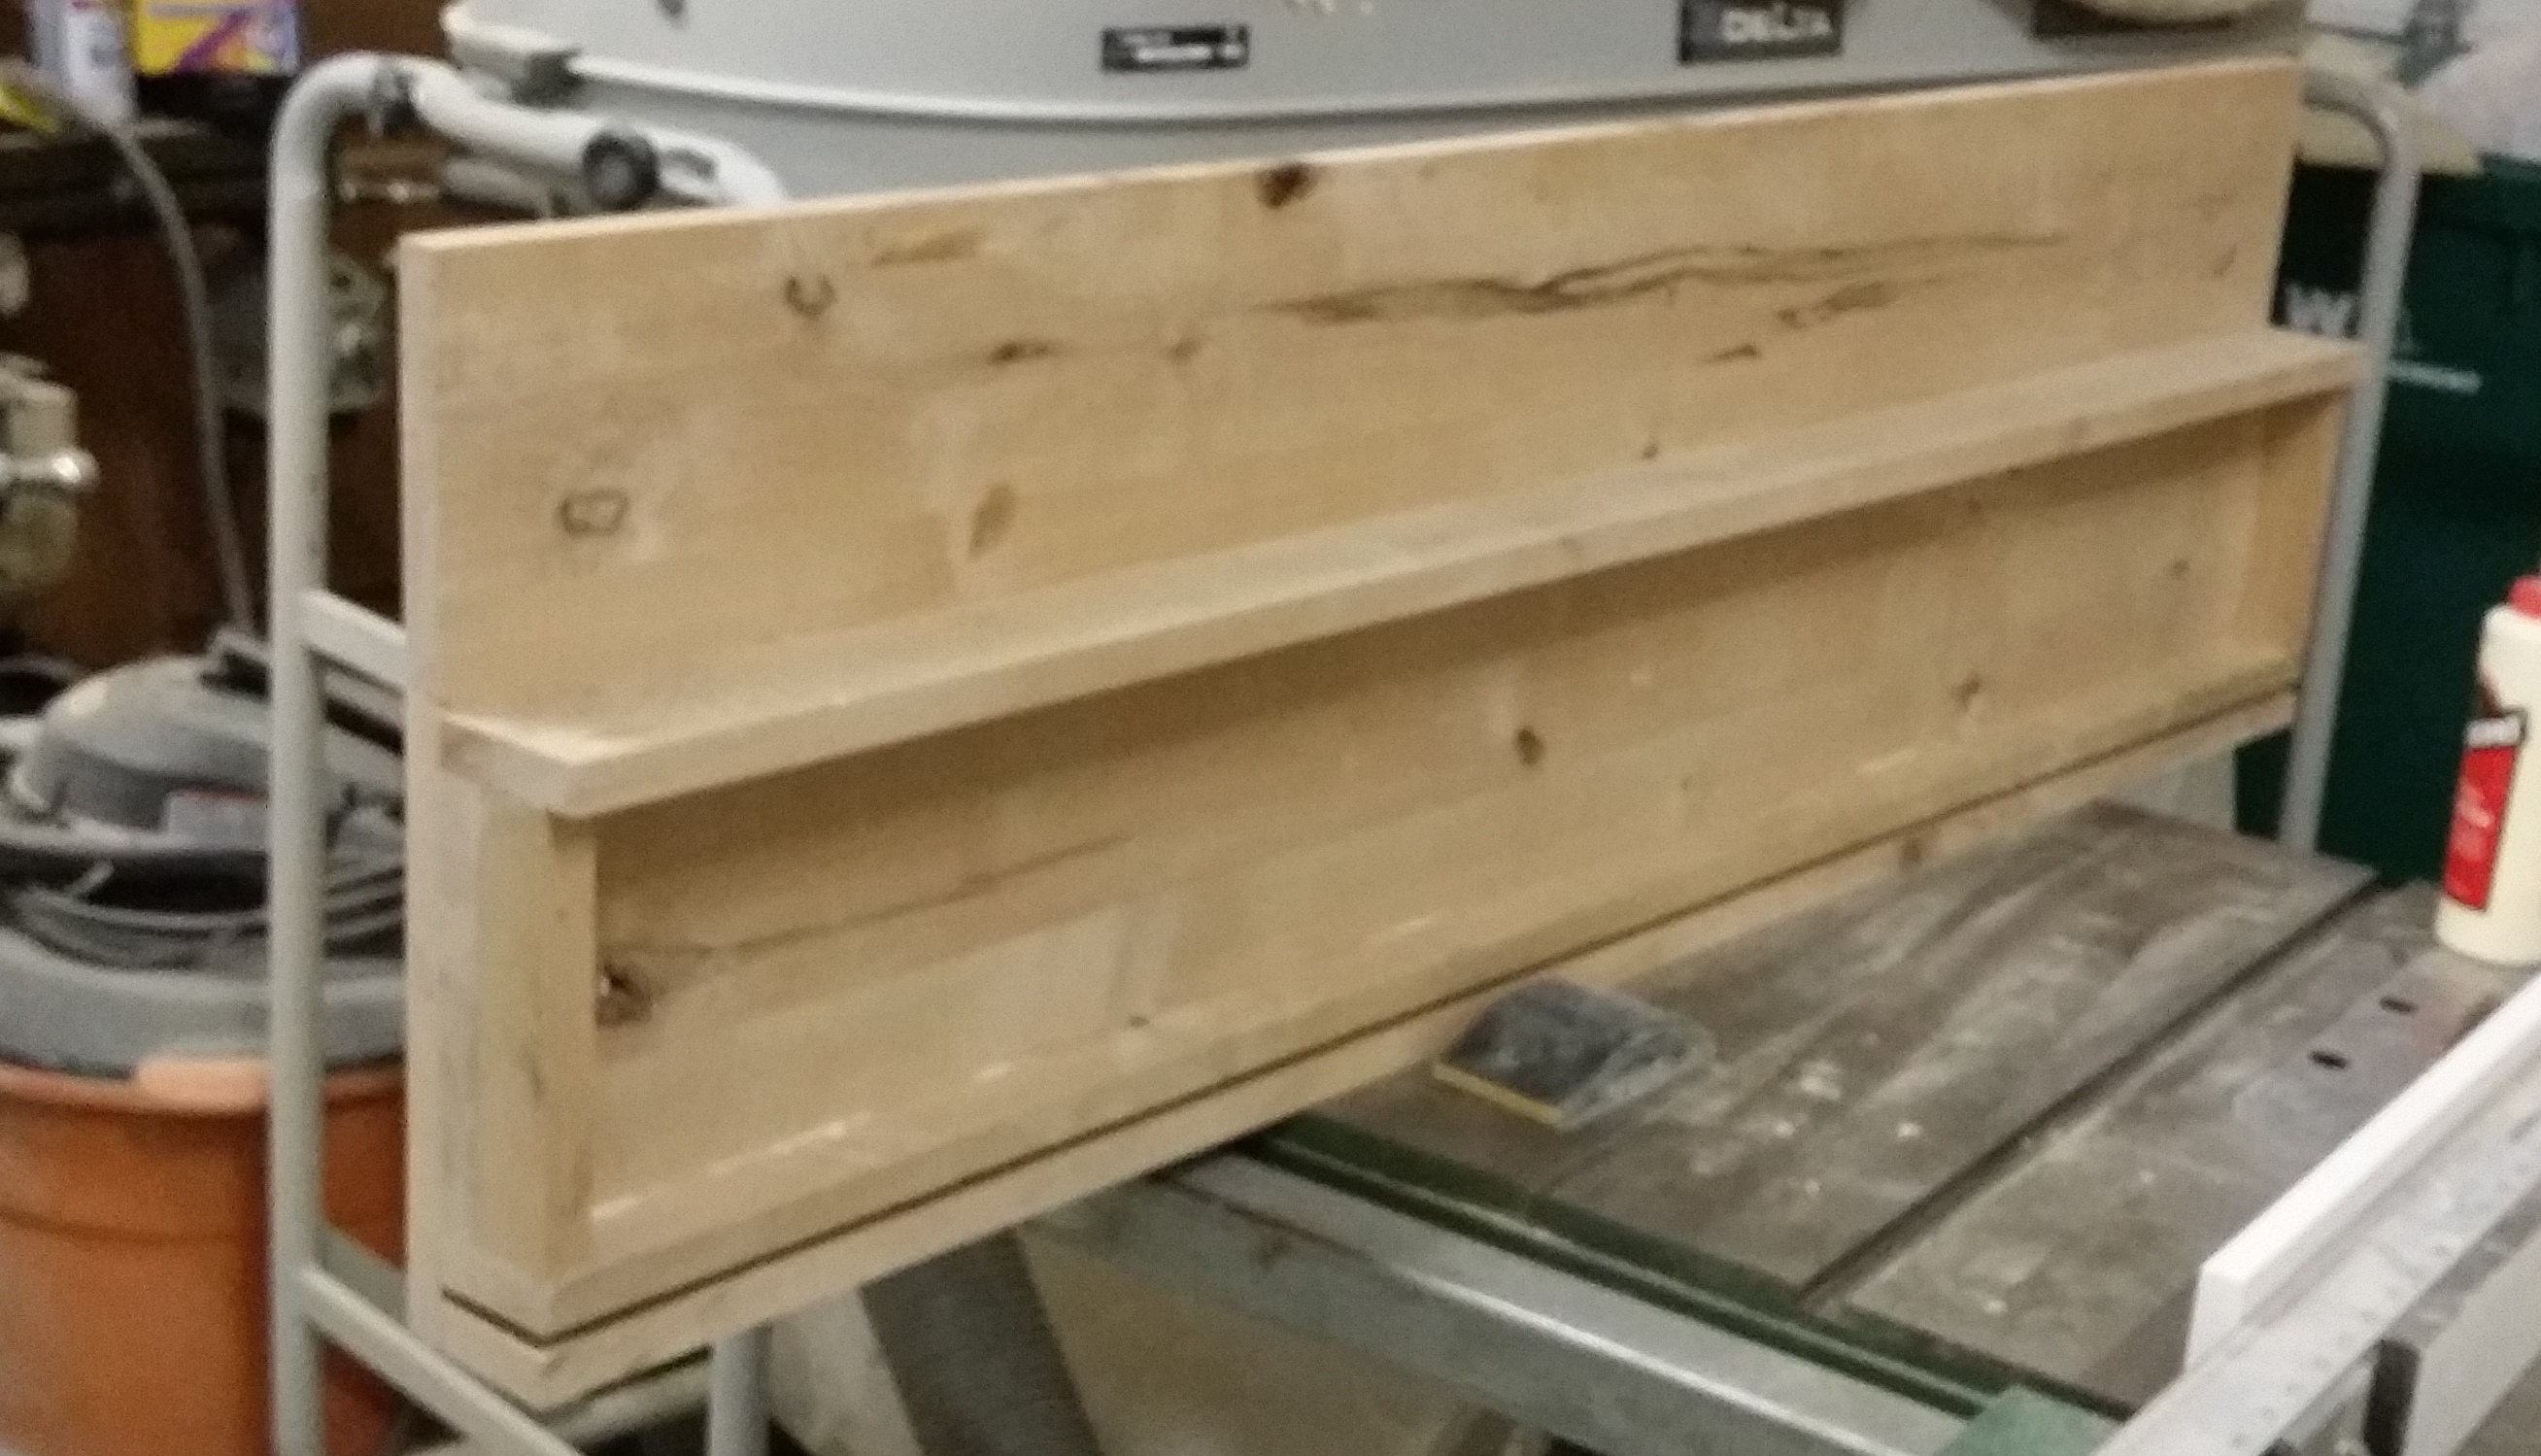
5. build a top: I used two pieces of plywood glued together to give the thick top look, then I covered the edges with a piece of trim. I cut the trim to be slightly oversized and then with a flush router bit I come back and remove the extra. This turns a huge sanding project in to a few minutes of touch up.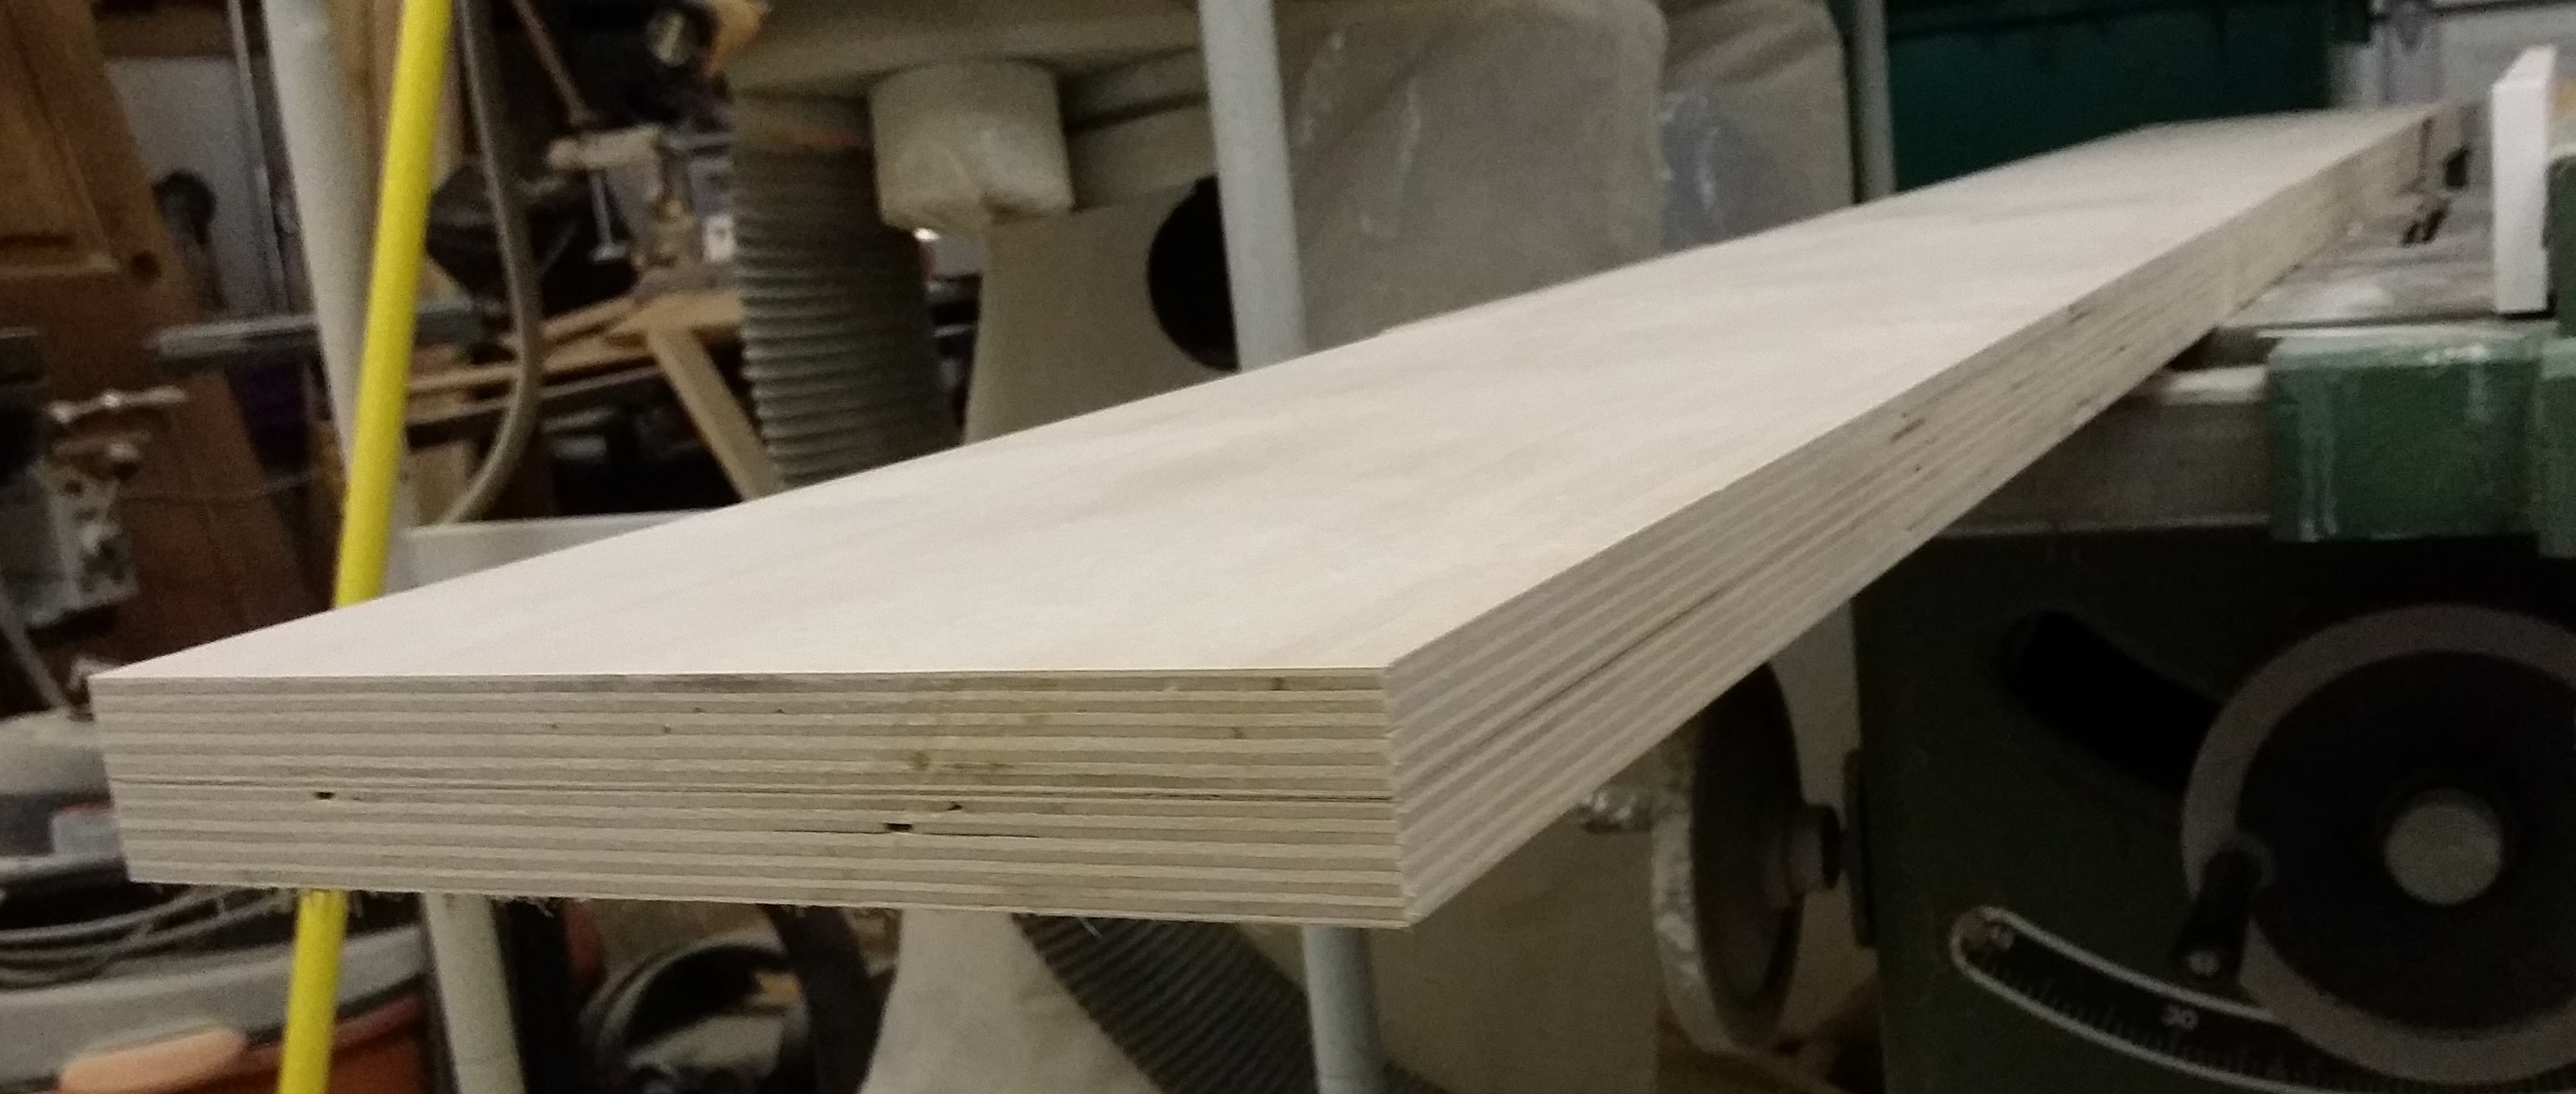
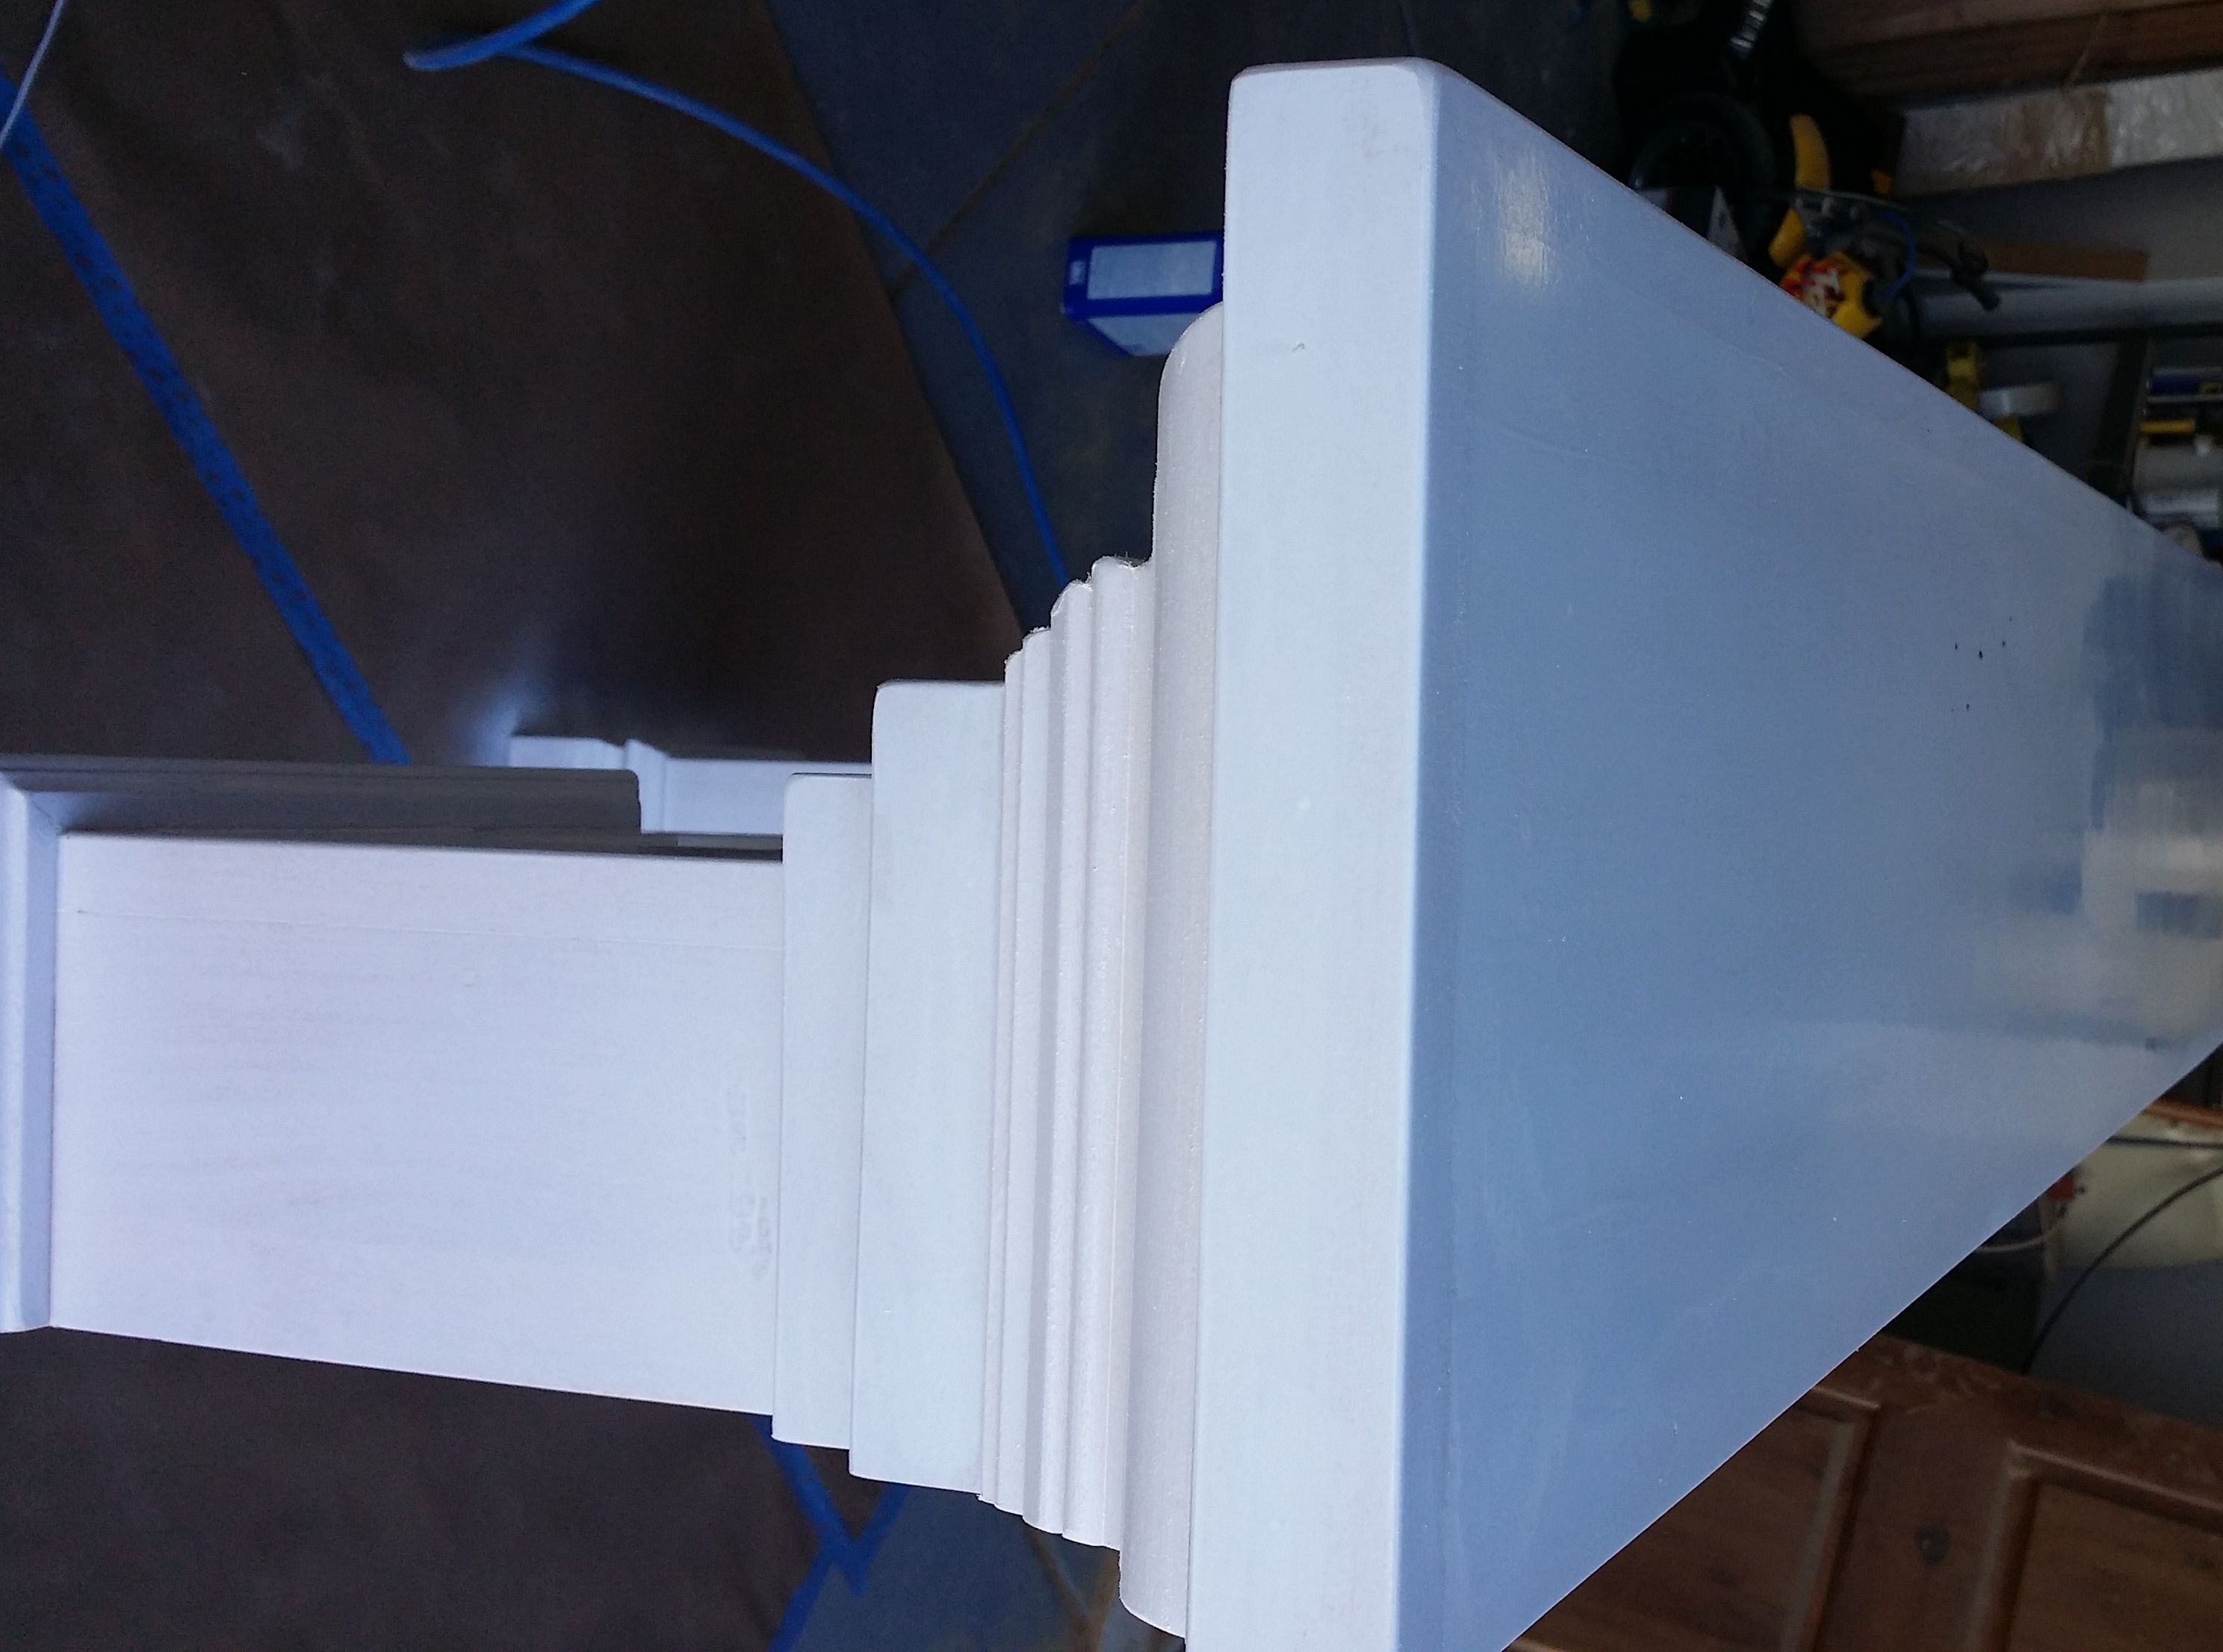
6. Install crown molding: Since I wanted a large crown to give me more surface on the top of the mantel, I built up the crown molding using a couple pieces of trim, this made my 4.5″ crown look more like 6″ or 7″ crown. I only have a picture of the crown molding after I had painted the first coat.
7. Finish sand: Sand everything very carefully and putty where necessary, even trim purchased from a hardware store still needs a lot of sanding. Now you are ready to paint, I used a lacquer, but you can use whatever you are comfortable with.
8. Install the Mantel: In order to install the mantel I just screwed three 2×4 pieces to the wall where I had marked the mantel to go. Then I drove screws through the mantel into the 2×4’s to secure it to the wall. Once that was all done I filled the countersunk screw holes and puttied over it with white putty.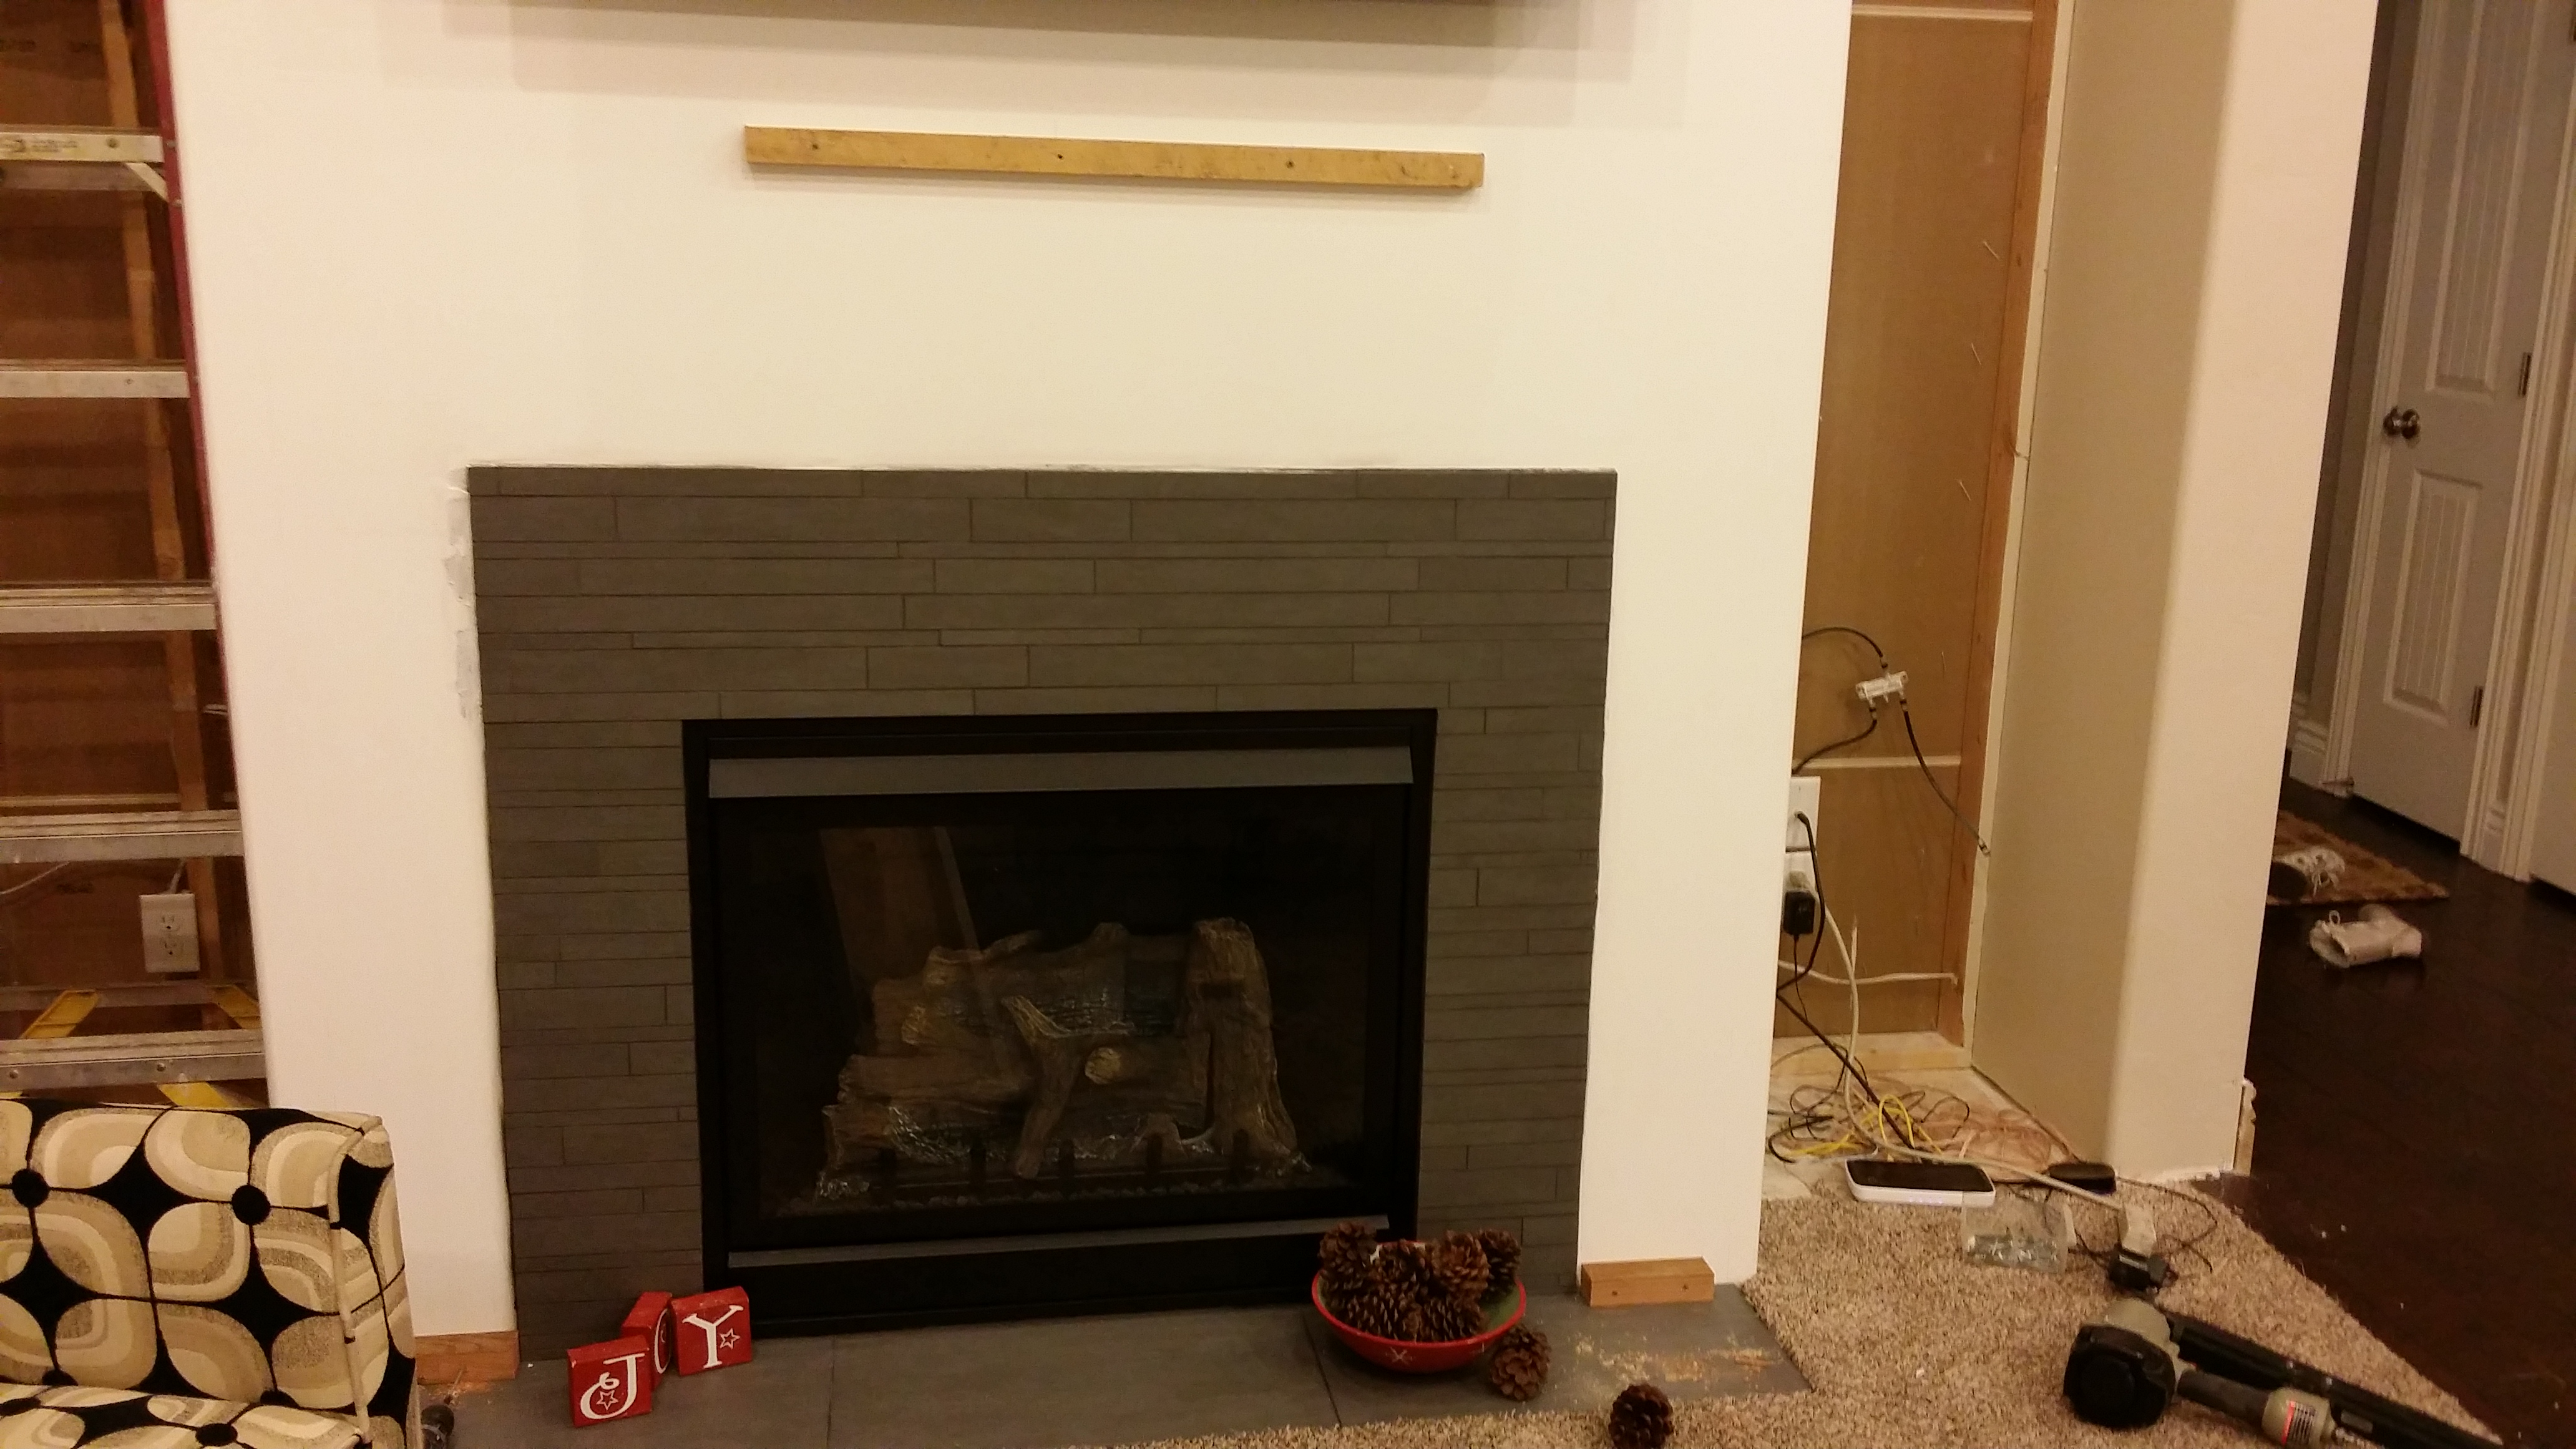
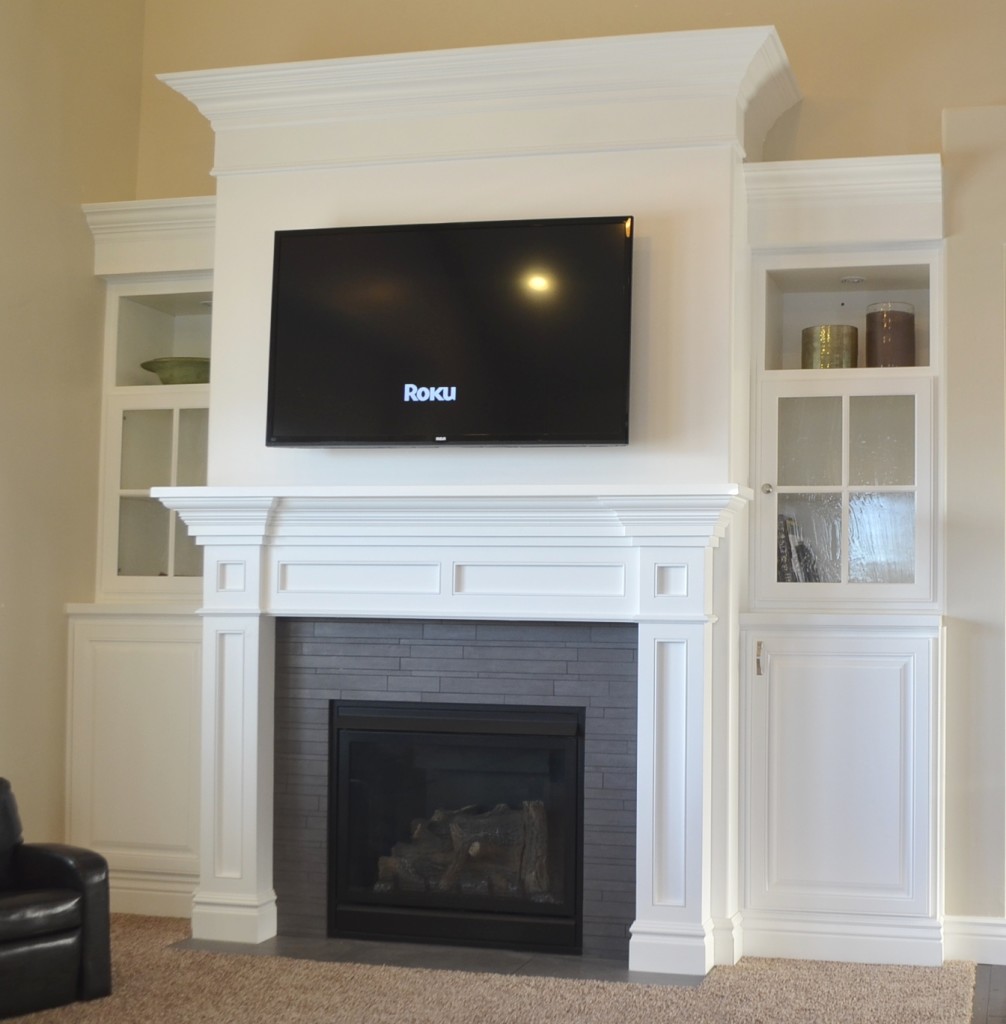
Here is a picture of the finished product!