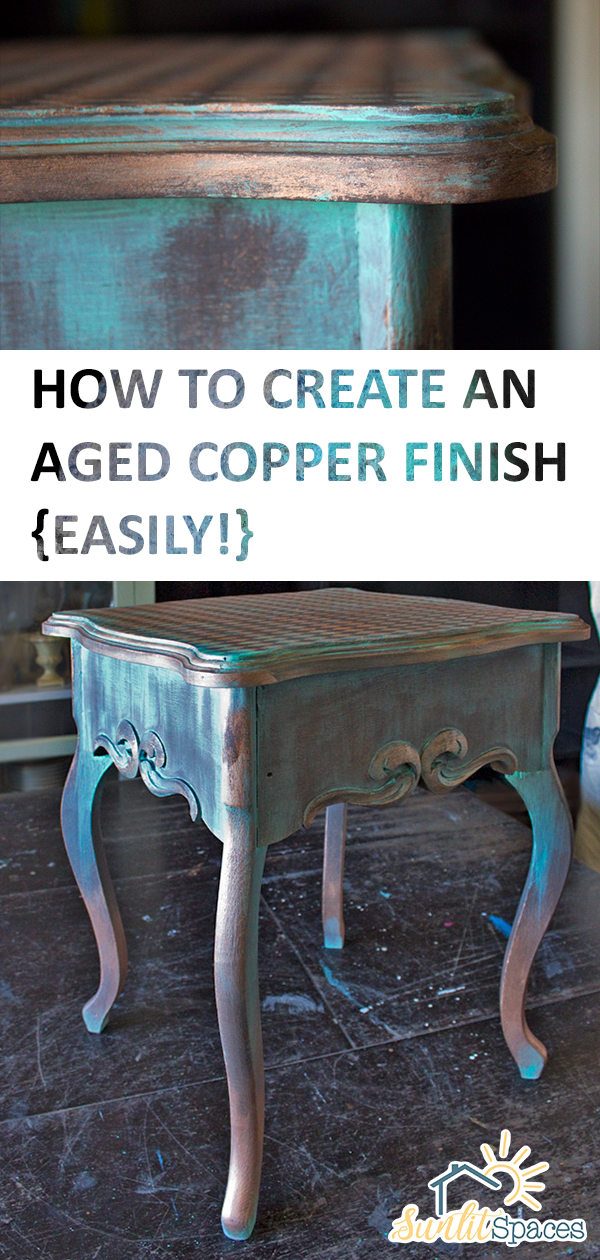
 Do you love the look of an aged copper finish? If you do, you’re not alone. There’s nothing quite like it! Let’s take a look at how to create an aged copper finish easily. And bonus, you can do this aged copper finish DIY project on a lot of surfaces, not just metal. Get ready for an aged copper finish DIY!

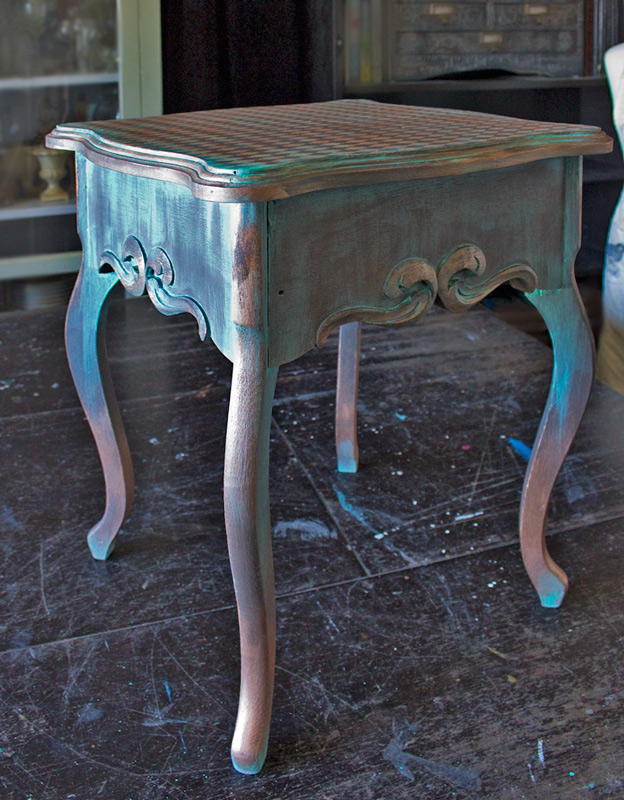
An aged copper finish is beautiful on furniture or even wood cabinets. To get the look, you’ll need the following supplies:
- 220 grit sandpaper
- a rag
- latex primer
- latex semi-gloss paint in a deep brown color
- dark brown glaze
- acrylic craft paint in antique copper
- satin-based polyurethane
- paintbrushes and rollers
- fine steel wool
Steps:
- Remove doors and drawers from cabinets. Rough up the surfaces just a little bit using 220 grit sandpaper. Use a rag or tack cloth to remove all traces of sanding dust.
- Cover all the surfaces with primer. Let it dry thoroughly, and then sand again. Remove all traces of sanding dust before proceeding.
- Paint all surfaces with two coats of the latex semi-gloss paint. Allow it to dry between coats, and again after the second coat.
- To give the finished color more depth, lightly coat the surfaces with glaze. The glaze must dry overnight before proceeding.
- Pour some of the antique copper acrylic paint onto a paper plate. Dip a piece of fine steel wool into the acrylic paint, then dab off the excess paint. Use the steel wool to lightly apply the antique copper paint in the direction of the wood grain. Pay special attention to corners and edges, where you will want to highlight with the copper color.
- Let the acrylic paint dry thoroughly, then apply two coats of satin polyurethane to all surfaces to protect the finish. Allow everything to cure before returning the drawers and doors to the piece.
Leave a Reply