If you enjoy sewing, you should know all the best sewing tricks that professional seamstresses use. These tricks make it easier for any home seamstress to work more efficiently and improve at the art of sewing. So stick around to see these 10 sewing tricks professionals refuse to share!
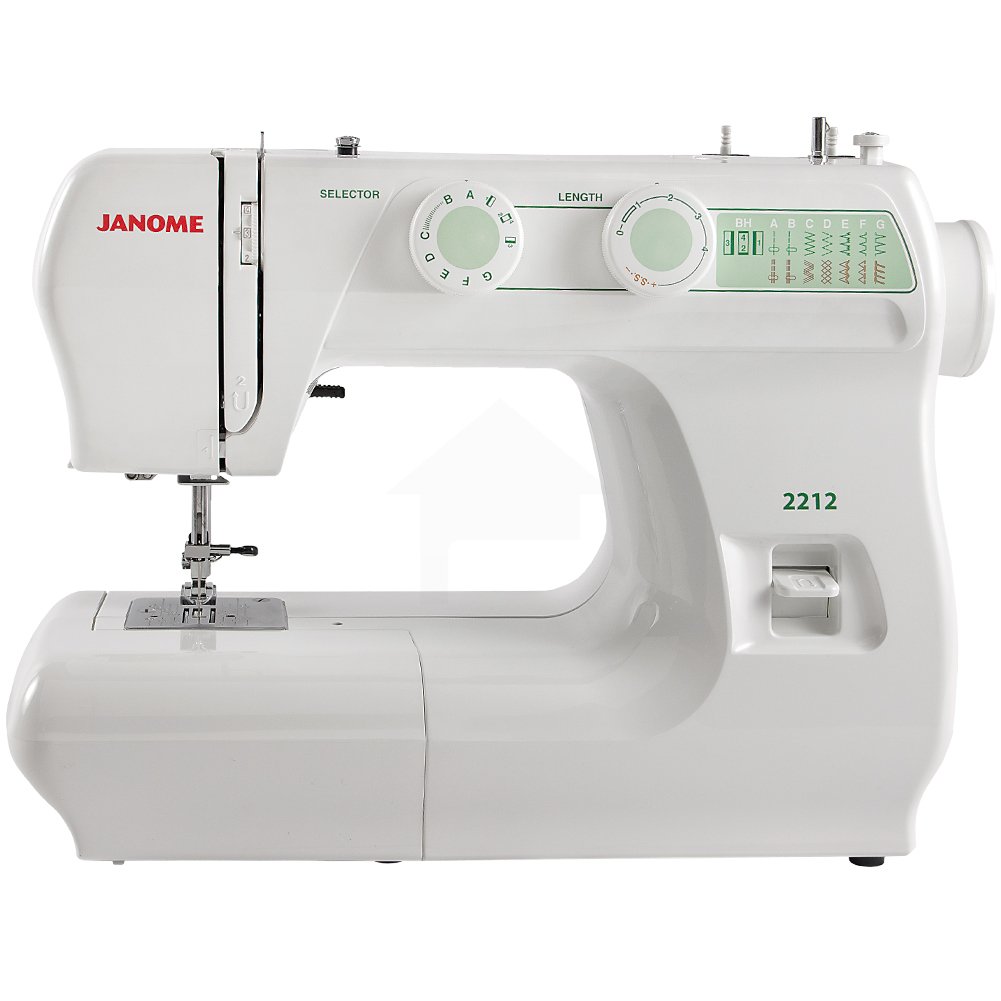
A good quality machine is vital, and it doesn’t have to be fancy. Find my personal favorite by Janome at Amazon.
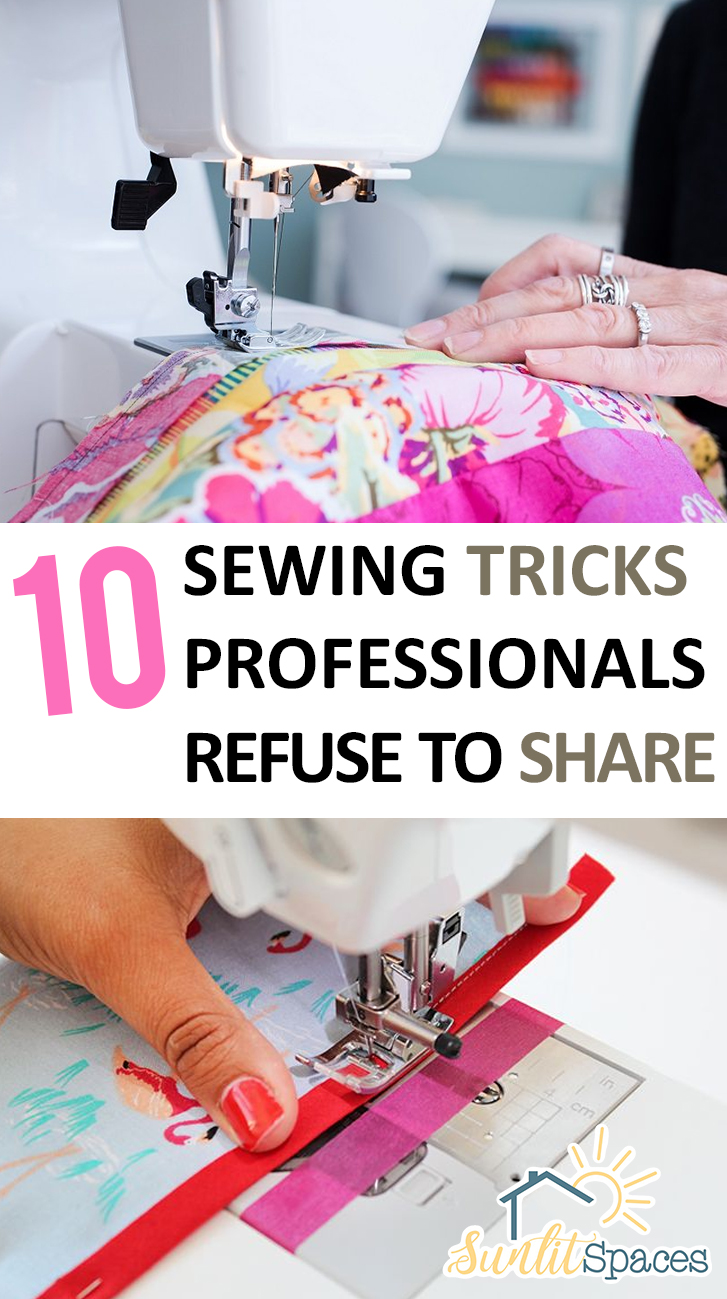
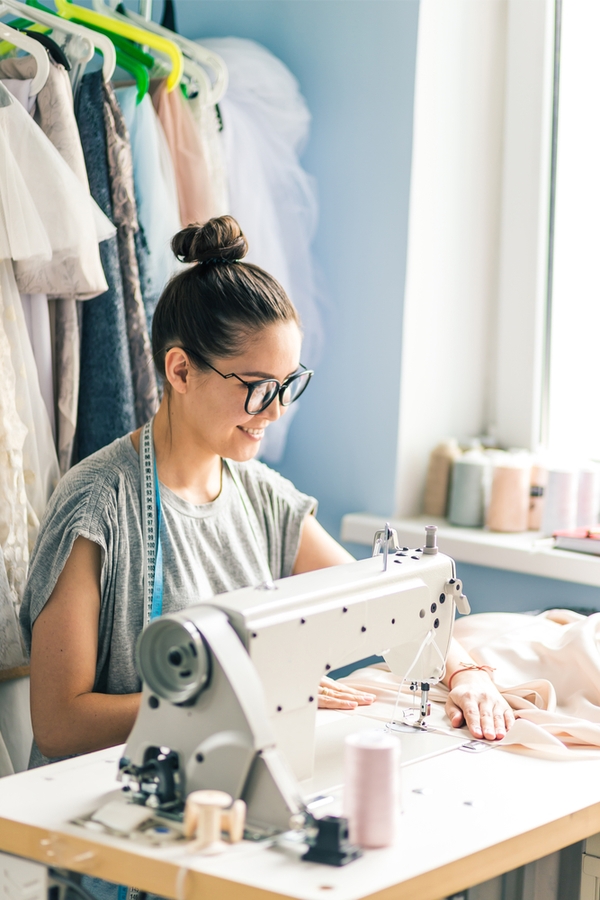
10 Sewing Tricks Professionals Refuse To Share
- Surprisingly enough, professional sewers rarely bother taking the time to pin things together. {A trick I believe in!} Pinning just creates one more step. As you get better at sewing, you’ll get better at just holding your pieces together as you feed them through the machine.
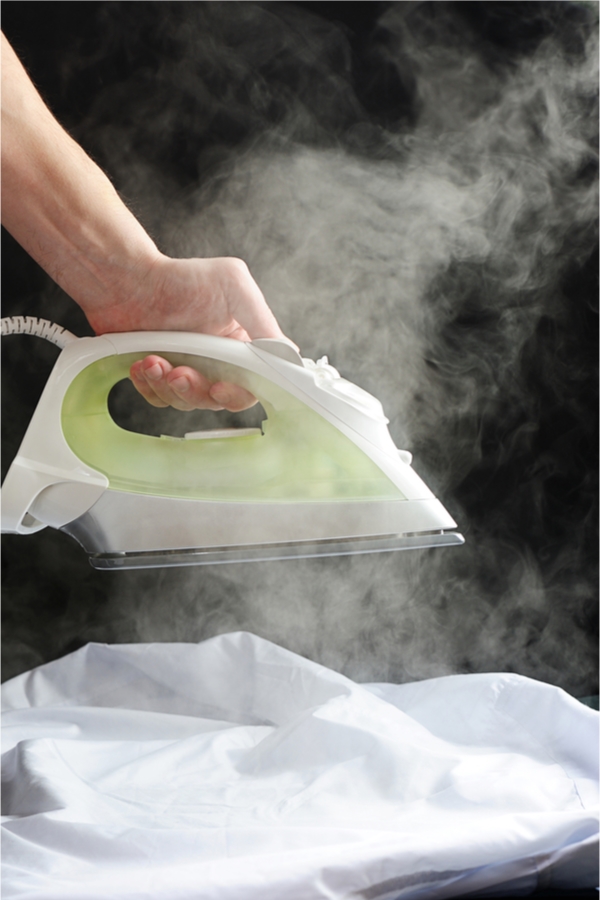
- Use the steam of your iron to help you manipulate stiff fabrics more easily. You don’t even need to touch the iron to the fabric. Hold the fabric over the iron and release a burst of steam. It helps soften the fabric and makes it easier to work with.

- If your fabric is stiff or heavy enough, you can fold a simple crease in it to mark various lines–stitching lines, fold lines, etc. It’s much faster than getting out your chalk or marking pen!
- Professionals continually experiment with their sewing techniques to find what really works best for them, and you should too! Don’t be locked into what you’ve been told is the best way to do something. If it’s uncomfortable for you, experiment until you find an easier way.
- Patterns usually call for a standard 5/8″ seam, but you don’t have to stick to that. It’s too bulky for certain things such as collars and waistbands. You can reduce those seams to as little as 1/4″ and it’ll save you time clipping them open later on.
- Instead of trying to cut those annoying diamond shapes to mark seams, just nip them about 1/8″. They are really more accurate and won’t fray your seams.
- Instead of pinning the pattern to your fabric, weight it down with weights. Think of the time you’ll save!
- Sew as many seams as possible before stopping to press them open. This is another time saver the pros really use.
- Don’t mark where your buttons go until after you stitch the buttonholes. Then cut the buttonholes open with a punch, not a seam ripper. Much easier!
- Instead of an ironing board, which is often not wide enough to keep your fabric from hanging on the floor, build yourself an ironing station. A sheet of plywood covered with wool and muslin is much wider and accommodates a much bigger section of whatever project you’re pressing.

Want some fun projects to test out your new sewing tricks? Try one of these 8 things to do with fat quarters!
Where are the other nine sewing tricks. I was only able to open one.
Hit on the little arrow next to the “2” of the page number.
Click on the arrow next to the “2”.
Me too
LaNell, if you’re opening the first page, look for the numbers “1, 2”. Then click on page 2. All the sewing tricks are on page 2
If you look under the picture you will see 1 of 2 and an arrow to the right. Press that and there will be details of the other hacks. They are in writing, not photos.
I had to scroll down pretty far to see them
They are all there, just click on the arrow. But none of the tips are of any use whatsoever.
The tips are very handy if you are a learner
I agree, good for beginners. should be labeled as such.
Vicki ..I thought the tips were perfect
And I learned most of them the hard way during my 30+ years of sewing!
Click for page 2 and scroll down, its just a list written underneath the sewing machine image
As you look at the webpage you’ll see 2 arrows that look drawn in . They point opposite directions w/ 1 – 2 between them. Press on arrow pointing to the right & you’ll see all 10
At least this worked for me.
they are on page 2
LaNeil, above and below the photo, there are arrows and says 1 of 2—–click on that, and it will take you to the 10 tips.
I hit the black arrow to the right and they opened up.
LaNell – on the second image, if you scroll down it counts up to 10. There isn’t a separate picture for each number. I was wondering the same thing at first.
click on the # after the arrow on the first page 12
They are all listed in first section. Numbered 1to 10.
As someone who worked in the industry as a pattern drafter for over 24 years, I can tell you #5 and #10 are not at all true. ALWAYS sew at the recommended seam allowance. If you do not, you will be altering the size and fit. It’s unfortunate home sewer patterns are made with such wide seam allowances, but it is what it is and you have to use that. In the industry we put ON THE PATTERNS 1/2″ seam allowance and 3/8″ around necklines and 1/4″ around collar, cuff and placket edges that are being turned out. As for #10, never do we use a big board to iron on. It’s important to use the shape of a proper ironing board to facilitate construction pressing as you work and in the final press. Pressing can be the mark if a “home-made” or a professionally made garment. Learn how to do it right. All else mentioned were good.
Totally agree with your comment about#5. I also trim underarm seam close and double stitch that one. #10 can be useful but only if you use pressing tools to mimic the rounded shape of the regular board. You are so right about that curving making the difference!
Thank you to both ladies. As with anything the more you do the more you learn the more you improve. Sewing to me is about having fun and enjoying the process, if you make a mistake think outside the box or just make a different outfit with it. Inventing and creating are what I think sewing is all about.
Thank you, Anita for your response as one who is trying to get back into sewing garments for babies, children and adults, your remarks were very helpful for me.
Anita Thomas, I so agree with you! Seam allowances are in a pattern for a reason. It will alter the size of you make it smaller. Just trim it down if you want it less. You’ll be happier with the outcome.
Also, the big ironing board space is something that quilters do for a larger flat surface. It works great for that,but not for ironing garments.
I’ve been sewing since I was about 7 or 8yrs old. And I’ve sewn for the public for maybe 40 yrs. I’ve made many mistakes,hopefully I’ve learned many lessons and sewing tricks and shortcuts along the way 🙂
I’ve been using a large ironing board table for years, it works much better than an ironing board. My garments have a professional look, I have won Pennsylvania state completions with my home made garments. Your comments are somewhat insulting. I have 49 years of pattern making and sewing experience under my belt.
I believe #5 & #10 are for non garment sewing…. Crafting and quilting…etc.
Good point well made Anita
First, thank you. Secondly, would you consider making up your own list, similar to this? Then, come back here and let us know!
I agree with Anita!! First read the pattern and use the seam allowances called for. They are there for a reason, sometimes so you can handle all the fabrics you are putting together (layering the seam later to give a professional quality to the garment), and sometimes for stability in the finished garment. As for #10, that is the best way to take a garment you have created and turn it to a piece of trash. The ironing and steaming of the garment is the best way to get a beautiful finish or really wreck it. The support surface you are ironing on needs to match the contour of the garment you are ironing. This is why professionals use tailors hams, tailors sausages, the small rounded area of the ironing board, and is some cases I have even used my hand with several layers of towel to get the right contour.
Anita, thank you for your tips!
I clicked on the “2” over twelve times, the number lit up like it was going to work, but I never got the tips.
I have to disagree with #6. Take the extra 2 seconds and cut the notch outward. It is way too easy to over snip and snip into your seam allowance or snip so close to the seam allowance that the seam will fray in that area after a few wearings/washings.
I agree with you as I have snipped to close to seam I would rather do the knotches they live up better
If you don’t pin where you’re sewing, how do you put in a puffed cap sleeve?
What foot do you use to sew bias tape when it is folded so you catch both sides
A general home sewer makes more than garments & needs both boards – I have a padded wide board packed away & place it on a table when needed.
Some of these comments are so rude. I feel these people take pleasure in belittling other people’s efforts.
I am a little late in commenting here but yes, why so rude! I have been sewing for nearly 60 years and I am still not too old to learn. Some of these tricks could be very useful to beginners I think. Surely the ones about seam allowances have been totally misunderstood – reduce the seam allowance, not increase the stitching line??